"My name is Michelle, and I have a sewing machine addiction." (and the group says, ‘Hi Michelle!’)
I haunt the thrift stores, and it used to be, 'almost' every sewing machine I found, ended up coming home with me. I had a hard time leaving them there, but I am much better than I used to be. Oh, there are still some that I have to 'adopt'. I have 'doctored' MANY machines, and I can tell you, unless your machine has a broken nylon gear, don't bury it alive! Those old machines are meant to live forever! You don't need to take it to the shop! You can fix it yourself. In fact, if you have an old machine, and the wiring is still good, these things will last longer than you will….I promise!
Reading a fellow blogger's post prompted me to write to her, and I decided to post it for all to see, so old sewing machines, and your lifelong friends don't get traded in, or get buried alive before their time! Old sewing machines were made with precision, and were meant to live forever. Replacement parts are still available, either through your dealer, or through internet businesses, or ebay, for almost anything you need. Note: Please disregard the duct tape part of the message, unless your machine is held together with such tape!
I have made a simple, and I hope, thorough list of things you can do yourself, and these things are what you pay your technician to do. *This is what they call, Timing* (Timing, actually, is when your needle will not pick up a thread, and all that has happened, is that your needle bar has been hit too hard, and pushed up into the machine, and your needle cannot reach the bobbin thread. This too can be fixed by you, and if you need instructions, contract me, and I will tell you how.) The newer machines can be maintained by you as well, but the process is a bit different. Doing this maintenance is easy, fairly quick, and should be done often. Just think of the fabric, tools, books, and notions you can buy with the money you save, by fixing and maintaining your machine yourself!
Have you ever wondered just how the upper and lower threads work together? Here’s how.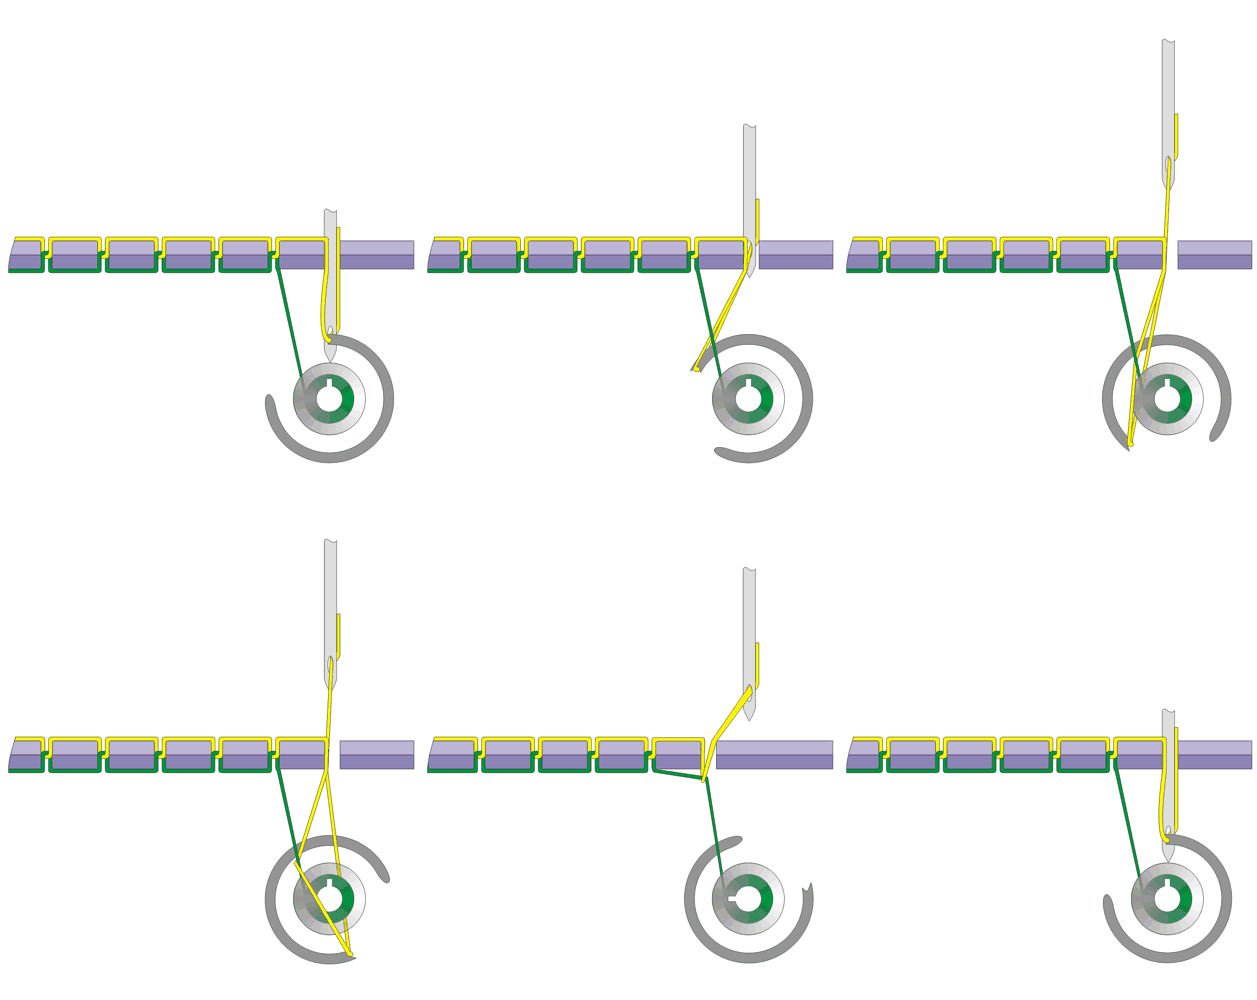 So let’s get going!
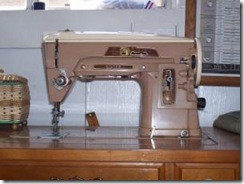
First of all, if you are repairing your machine with duct tape, please don’t embarrase your machine! Instead, use some super glue to hold in the spool pin, or whatever else you have taped. These machines do have feelings, and you don't want it feeling like a 'nerd with duct tape on it’s glasses', for pete's sake!
Second, remove the top of the machine, (there should be two big screws on the top securing it) and add oil to any moving joints. Also look for oil ‘holes’ and put a drop there). Where you see old grease, take a Qtip and remove the old gunky grease. If you don't have regular sewing machine 'grease', use a bit of vaseline. Move the handwheel, or run the foot control to make sure you get the new lubricant to go to the correct places. If it sounds loud, keep looking for moving joints and add a drop of oil until it quiets down.
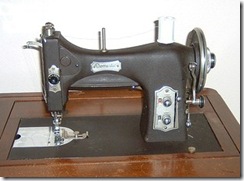 NOTE: The earlier machines which do not have a top to remove, still have small holes which oil can be added. Do this on a regular basic, especially if you use your machine frequently.
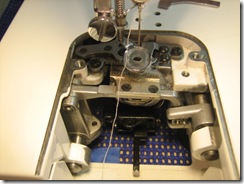
Next, remove the throat plate and remove all the lint, check for hidden pieces of broken off short threads, and remove. Sometimes if you move the handwheel, and look carefully, you will see a piece of thread hiding.
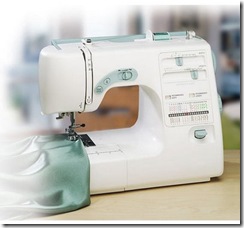 The process of removing the top is gone, as you can’t get into the newer machines like the older ones. Also, new machines don’t need the oiling that the older ‘tanks’ do. In fact, with most new machines, the instruction manual will tell you NOT to oil your machine, but to bring it to your authorized dealer, (for a cost of at least $79.99, AT LEAST, once a year.NOTE: If you have a warranty, or a certain time in which the maintenance is done by the dealer for free, then by ALL MEANS, do so.) This is fine, if you want to, but there are many things you can do yourself, if you are the least bit interested, and mechanically inclined, and I KNOW any one of you could do this yourself. Don’t be scared.
With the newer machines, you just need to concentrate on keeping the lint cleaned out from under the throat plate, and out of the gears underneath. DO NOT USED CANNED AIR TO REMOVE LINT. Use the little brush that came with your machine, or a clean used mascara brush works EXCELLENT for pulling lint and threads up and out of the top loading bobbin machines, but especially, the vertical, (under the bed) bobbin area. Also, on your newer machines, lay it on it’s back and find the screws that remove a ‘section’ of the bottom, so you can see the bobbin area from underneath. This will also expose the gears (mostly nylon nowadays). YOU WILL NOT GREASE OR OIL NYLON GEARS, because if you do, they will break down over time. What you will do, is again, find a brush, or qtip and remove any lint that you see, or broken threads that have fallen down there. Put the bottom back on, and you should be good to go. 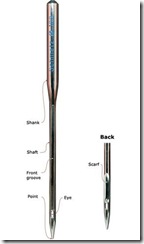
Next, change the needle. Bent, or dull needles will make stitches skip. If you have some canned air, GENTLY blow between the tension discs on the front of your machine, or use some thread or floss to clean them out. Swing the end door open, (YOU CAN STILL DO THIS WITH MOST NEW MACHINES) where the needle and pressure bar go up and down, and add a drop of oil where the shaft goes through the hole, and a drop of oil on ALL the moving joints. Now, put the top back on, shut the end door, and add a drop of oil to every little oil hole on the machine bed and arm you can find.
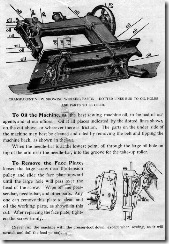 Next, take the bottom off your machine, or lift it up, if it is in a cabinet, and do the same thing as you did on the top of the machine. De-lint, and add a drop of oil on every moving part and joint, but NOT on any nylon gears. Metal gears, yes, add a drop of oil, or if you see there has been grease, remove the old hard black grease and replace with fresh new vaseline or sewing machine grease. Run the foot control, and find every moving part. If you hear something clicking or sounding loud, keep looking, and keep adding a drop of oil here and there until it sounds better. Put the bottom back on, (or set it back inside the cabinet) and set it back upright. Now just run it for a little bit, unthreaded and let the oil soak in.
Tell me....does it sound better? Rethread it, and test sew, but on some old scrap fabric,for a bit, in case traces of oil creep out. Does it sew better? With the newer machines, or even with the older top load drop in bobbins, sometimes your machine will start to sound a little louder, or have a click. Check your manual on how to remove the bobbin case, and make sure it is clean and lint free under there, and if you see a small ‘wick’ in the center, just ONE drop of oil is enough, but when you put the bobbin holder back in, turn the handwheel, and where you can see the rotating part that moves AROUND the bobbin case, put a drop of oil so that it is lubricated between the two pieces. You’ll be surprised how it will quiet right down. If you don’t have a manual, there are plenty of free manuals on the internet, or very reasonably priced ones which are downloadable specifically for your machine, but if you can’t find the exact model, don’t fret. Most machines are made very similar, and I know you will be able to apply the same principals.
For the final step, wipe it down good with nice soapy water, (sometimes, I use foaming window cleaner and a soft cloth) and polish it with some furniture polish, or kitchen polish you use on countertops and appliances. Once it is nice and clean, shiny and happy, and runs and sounds good, give it a hug, tell it how much you LOVE it, and what good FRIENDS you are, and put a nice cheery sticker or two on it, and enjoy it for many years to come!
Be blessed, and HAPPY SEWING!
Michelle

 Yep, it was linty. After I cleaned it out, it worked just fine.
  I had a few more episodes after that, but I found I was breaking thread on thick seams, so I tried to dance around them, or cross the lines with caution, and all went pretty well.
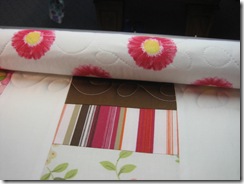
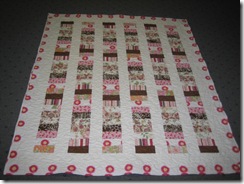
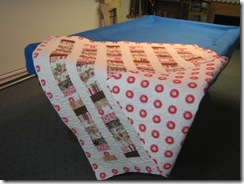
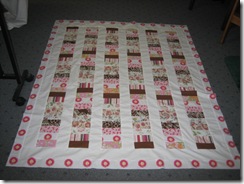
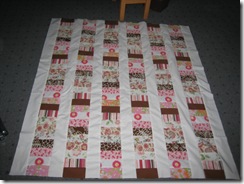
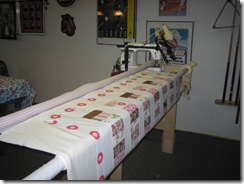
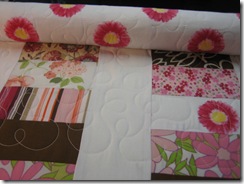 In a few hours, the quilt was off the frame, and the binding was sewn on, front and back. Yes, I was too lazy to hand stitch down the binding. I used the same fabric for the binding as I did the for the backing and outer border, so it is about impossible to see.