Friday, May 30, 2014

Thrifty Sleep Shirt

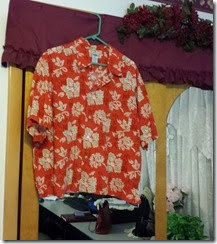
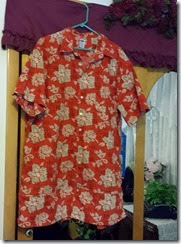
Quite awhile ago at a thrift store, I bought a man’s shirt, and when I got it home, it was bigger than I normally wear, so I left it in the closet. Not long ago, I found another one, and when I brought it home, it was extra big too. I was thinking I would just sleep in them, but they were kind of short for that, so tonight I turned both of them into one long sleep shirt.

I cut 6” off the bottom of the first one….

20140530_204936

…and sewed it onto the bottom of the second one, lining up the seams. They lined up perfectly. I also sewed the shirt front closed by sewing the left and right sides together at the buttons.

20140530_205041

(I’m actually shocked that I’m showing you this and my fat drumsticks legs, but you will notice that I cut off my FAT ankles and wide feet.) Ta da! Comfy sleep shirt!

20140530_210440

I guess I can say I did ONE thing constructive today! (Or two. I did get ONE load of laundry in the washing machine!)

images[2]

Saturday, May 24, 2014

Brother Pacesetter 2340 CV ~ Removing Fabric

I found a great tutorial for removing the fabric from a Brother Cover Stitch 2340CV Machine HERE. (Thank you Carla!!!) That is what I wanted to learn next with my Brother CS machine. I practiced, but I still need the directions. I probably always will. Somewhere, during my search for the Brother CS machine before I bought it, (mostly reading ‘amazon.com’ reviews) I read where you were NOT supposed to sew off of the edge of the fabric, and the fabric did NOT release from this machine like other more expensive brand models. I decided that I COULD learn how to remove the fabric through this process, and that I WOULD buy this more economical model, which did the same thing as the more expensive models. (Sorry, I just can’t get past ‘thrifty’.) I also got brave this morning and decided to see just what WOULD happen if I DID sew off the fabric.

This is what happened.

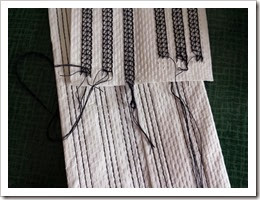
20140524_120922_3

Check out the third row of stitching from the left. You will see the ‘chainstitch’ coming off the end. NOTHING BAD HAPPENED!!!! It DIDN’T tie all the threads in the machine into knots and I DIDN’T have to completely dismantle the machine. Smile  So what is worse? If I have to pull threads to release the fabric, and tie them to secure them, or if I have a little ‘chain’? If I sew the ends to another piece of fabric for whatever ‘construction’ I am doing, won’t I be securing the ends of the cover stitch and locking the threads that way? If I am not securing the ends by sewing to another piece of fabric, wouldn’t a quick couple of stitches with the sewing machine ‘lock’ the end threads down?

I am thinking now, that I will just sew ‘off’ the fabric and deal with the ends. I might be acting a bit ‘smug’ since I have absolutely NO experience to date, or any idea what I will be doing with this machine, AND maybe going back to releasing the fabric via the above tutorial MIGHT absolutely be a necessity…. but being my inexperienced self right now, I’m not going to worry about it. This should be a FUN experience, right? Embarrassed smile

My friends are excited for me, and naming off all the things I can do with this machine, like wall hanging bindings, pillow cases, and bag construction, and, and, and….things I had never thought of. I had only thought it might be nice for hemming up slacks and jeans…..AND, it is something new to explore, and I was curious. Sew here I am.  I do wish there were more tutorials and ideas on the internet to give me ideas. Do you think there are other people in the same boat as me?

What would YOU use it for? Do you have one? Can you send me in the direction of some ideas? (I have NO plans on garment construction.)

20140518_142731

images[2]

Sunday, May 18, 2014

Something New…Brother Pacesetter 2340CV Cover Stitch Machine

20140518_142731

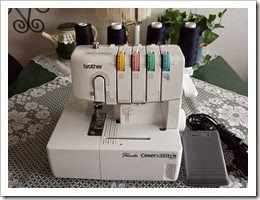
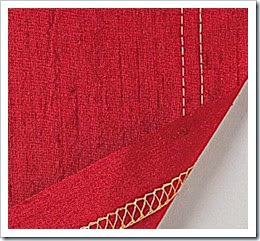
Last week I got a wild hair and decided to buy myself a Brother Pacesetter 2340CV Cover Stitch Machine. A cover stitch machine is kind of like a serger, but without knives. It can do more things than a serger can do. You will see similar stitches on the insides of your t-shirts and sweatshirts. It works good for stretchy fabrics, but will also work on woven materials. I have not even begun to learn all it can do, but I am a curious girl, so with the right accessories, I hope to learn. I borrowed some pictures from a google search for you to see.

This stitch is using two needles, showing top and back side of fabric.
index-coverstitch

This stitch is using three needles, showing back and top side of fabric. The looped thread is on the back.
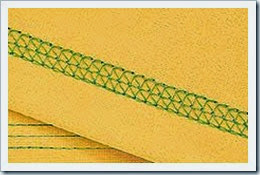
feature_187

One needle thread and chain stitch using just two cones of thread. You can use either side of the fabric for the top.  Some people like the ‘underside’ as the decorative side and sew so that it ends up on the top fabric. This ‘one needle’ and chain stitch is also used, using a very long stitch, as a basting stitch so it can be easily pulled out.
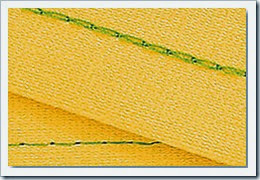
brother-2340cv-chain

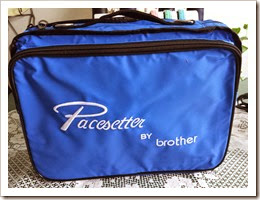
I bought an organizer pouch for the accessories I bought.
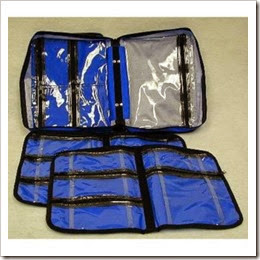
$(KGrHqIOKo8FGKL,7oYzBRqV)qzZLw~~60_12

These are the accessories that came with the machine….
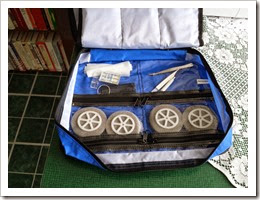
20140518_142512

…and the accessories I bought with the machine.

Hemming set…
20140518_142525

Double fold binder…

20140518_142534

Bias tape binding set…

20140518_142544

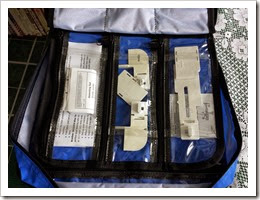
Top stitching foot set, Bias tape folder, and belt loop guide.

20140518_142555

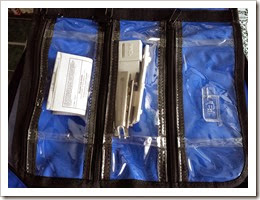
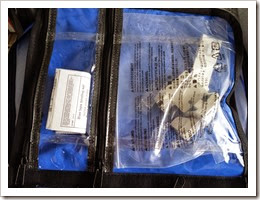
Receipts, fabric removing instructions, instruction booklet, warranty paperwork, etc.
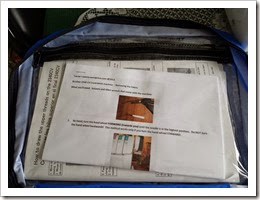
20140518_142603

Pouch filled.

20140518_142630

I have tackled the threading. That was very EASY. Now I have to practice removing the fabric and cutting the threads. It is not like a sewing machine. You have to be careful so you don’t pull out the chain stitch on the back. That part is difficult to learn, but that seems to be the only complaint people who have bought this machine have. The price of the machine is very reasonable compared to other cover stitch machines. When a person (me) who has never used one before wants to learn, and is not sure just how useful this machine will be to that person (me), choosing a more reasonable price with great reviews to start with, makes sense. Upgrading is always an option. Once I tackle the removal of fabric, it won’t even be a concern anymore.
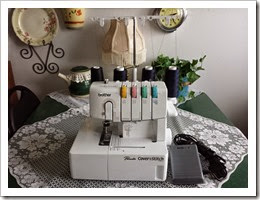
20140518_142713

If you would like to see a few videos of things you can do with a cover stitch machine, click HERE. You can also search ‘Cover Stitch machine’ on the youtube page and get all kinds of videos to watch.

images[2]

Friday, May 16, 2014

Missing Door

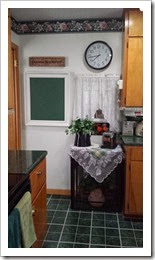
Last Friday, I decided that the door between the top of the basement steps/door to the garage, and the kitchen needed to come off so I could see what it would look like. I never closed it. In fact, it had a door stop attached at the bottom so it could NOT be closed. (Behind the door is also where I stored my tall step ladder.) I just wondered how I would like it with it GONE.

10291080_628743790549228_4452884039592013236_n

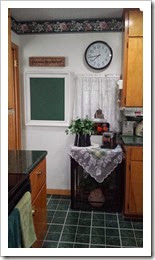
This is a very OLD photo, and my kitchen has changed quite a bit since then, as I have de-cluttered many times, but it shows the door pretty well, so you can see the comparison.

kitchen declutter 001

It’s been this way for a week now, and I have to say I REALLY like it. I found a safe place to store the door in case it ever needs to go back on, and a new place to store my step ladder. The chalk board and sign were attached to the door, so I moved them to the wall. Walking by, it gives us a few more inches of clearance. I like the bright white as opposed to the dark door. It seems to me like it makes the space bigger and brighter, and I like that!

10291080_628743790549228_4452884039592013236_n

images[2]

Wednesday, May 14, 2014

Park View DayCation

I was getting a little low on Vitamin Q (quilting with the girls), so I took a vacation day yesterday, and went to Park View to quilt with the Park View Lutheran Quilting Ministry. I only have one photo to show. (I guess I was pretty lazy too.) I returned two sewn Habitat quilt tops and one nursing home quilt top, delivered some fabric that was donated to them by others, and while I was there, I sewed this nursing home quilt top. I always choose the smallest kit, as I am usually able to get it all sewn together in the time that I am there.

20140513_140329

It’s back to work today, and I didn’t want to get out of bed. I had weird dreams all night.

images[2]

Sunday, May 11, 2014

Habitat Quilt

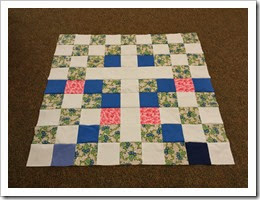
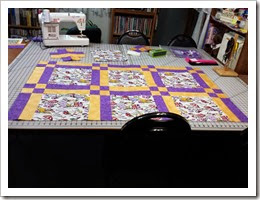
Today, (Sunday) I started sewing a quilt top for the Park View Lutheran Quilting Ministry. This one will be a twin quilt for the Habitat For Humanity program. I cut this quilt out about a month ago, so it was all ready to sit down and sew.

1

2

Thankfully, the pattern went together better than the last one I did. The dimensions and instructions for that one were all messed up, and there was some operator error as well, during the cutting process. Embarrassed smile The combination of the two made it a ‘not so pleasant’ experience. Thankfully there was enough fabric to make the corrections. (Whew!) Who me? This one went better.

3

This one had a lot more seams to sew though.

5

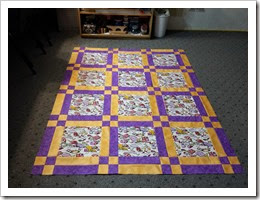
Here is the completed quilt CENTER. I still have two sets of borders to sew on it tomorrow night after work. I would really like to return it to the quilters on Tuesday when I go sew with them. Smile

6

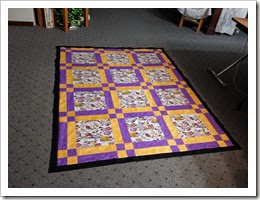
I’ll add more pictures to this post when I am finished, so check back later tomorrow evening or Tuesday!

Update, Monday 9:45pm.

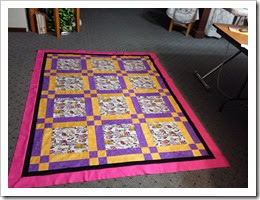
Finished! It’s off to the quilters tomorrow!

7

8Have a wonderful week!

images[2]

Saturday, May 10, 2014

Goodbye Flushmate~Hello American Standard Champion 4

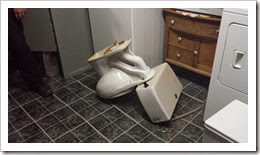
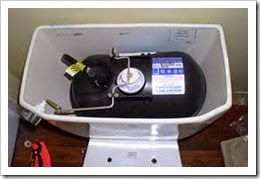
This Flushmate was the second one we have replaced. We got them when they were the ‘hottest’ thing. They both proved to be disappointments.

20140507_233152

They have a compressed air tank which also holds the water in a tank inside the porcelain tank. When they start leaking, the water starts collecting in the bottom of the porcelain tank. That’s not a good thing. We replaced the Flushmate we had in the main floor bathroom a few years ago, and now the basement one started leaking, so we decided to just replace it. (photo borrowed from web to show what the compression tank looks like). I see now that they have discontinued this series.

download

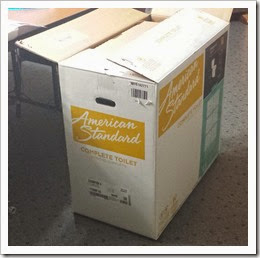
We decided to get the elongated bowl, and chair height model again, like the main floor toilet. This one cost less than half of what the Kohler I bought cost. Go figure…. AND, I think it flushes better too.

20140507_233142

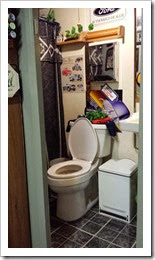
We bought it Saturday afternoon (last week), Louie had help carrying it downstairs on Tuesday night, and Wednesday night, he installed it. My hero! Secret telling smile Red heart

20140508_051929

Since we only have two bathrooms, hopefully, we are done dealing with toilets for a long, long time!

Have a wonderful weekend!!!

images[2]

Friday, May 9, 2014

May Quilting~Twirling Star Quilt~And Another Habitat Quilt

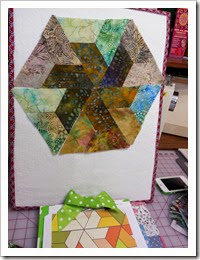
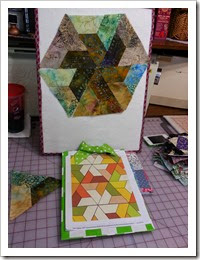
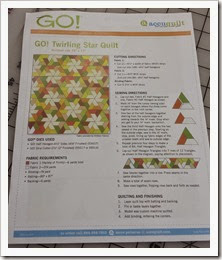
Last Saturday was our last quilting get together until September. It was Christie’s turn for the block, so she brought her AccuQuilt Go fabric cutter and cut some half hexie’s. She brought a pattern for everyone and we all made a triangle section, as seen on the left side of the second photo. I think it is really pretty, but I’m not a fan of sewing Y seams, so I probably won’t be making this one. I love the colors she chose, and the batiks!

20140503_131324

20140503_131350

20140503_131528

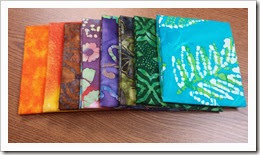
She also chose batiks as her choice of fabric fat quarters for exchange. I love batiks, but have not made a quilt with batiks yet. I have a lot more batik fat quarters. I need to plan something and do it!

20140509_083545

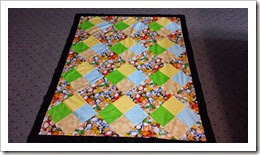
After I made my one little section, I started sewing on a quilt top for the Park View quilting group. They present quilts to families with children when that family is presented their new home through Habitat for Humanity. Every child in the household will get a twin size quilt. Here is the center with the first border sewn on. I did not start sewing it all together until late Sunday afternoon.

20140504_194547

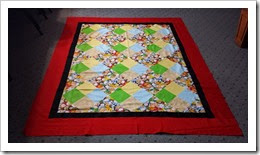
…and the finished quilt top. I didn’t finish it until Sunday evening. parkview habitat quilt top 2

I’m hoping to take a vacation day and go quilt with them on Tuesday, so I will be taking this with me at that time to pass onto one of the quilting ladies. I’m also hoping to sew another Habitat quilt top together for them this weekend so I can take them two.

Have a wonderful weekend!

images[2]


LinkWithin

Related Posts Plugin for WordPress, Blogger...